
It is easy to install Laminate flooring on any subfloor, but when it comes to installing over a concrete subfloor, some measures have to be undertaken to protect the laminate planks from moisture damage.
Installing Laminate flooring is a quick and easy process that does not require a high level of technical know-how. Being a floating floor, it does not require nailing or gluing down, which makes many people prefer DIY installation.
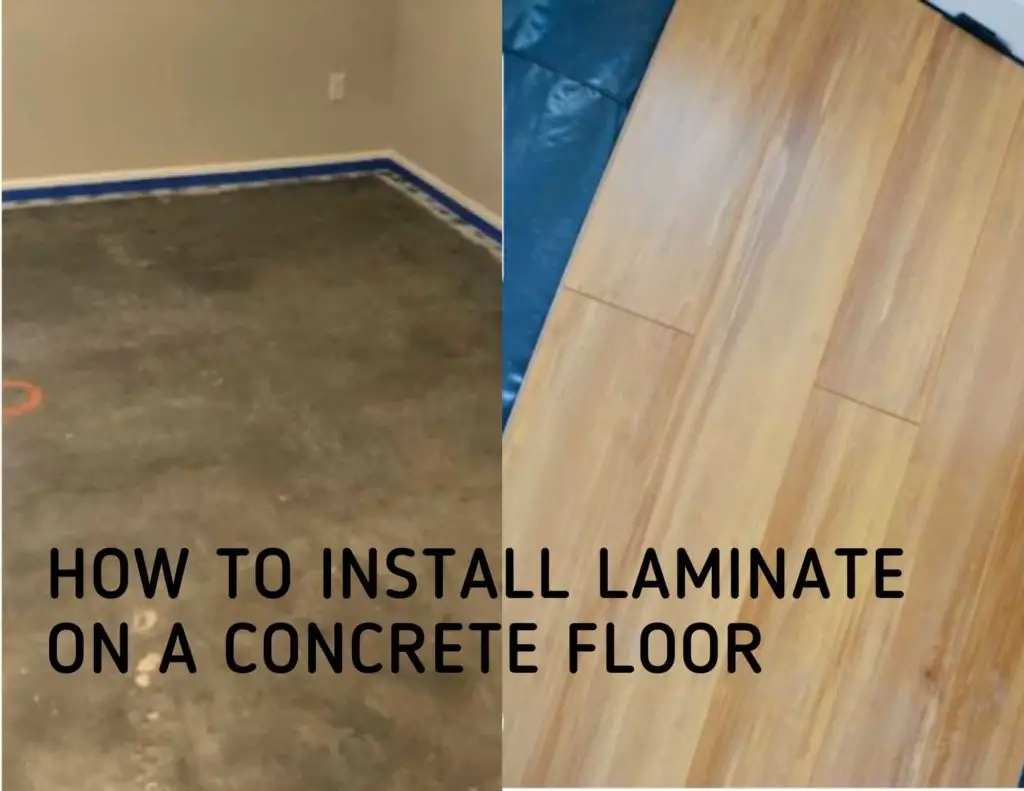
Laminate flooring is one of the most popular floorings installed by many homeowners because of the nature of its appearance, its durability, its high scratch resistance, and its ease of installation.
What to Consider When Installing Laminate Flooring on Concrete
Because of the nature of laminate as discussed above, there are some factors that should be kept into account to make sure your flooring lasts longer.
- If you are installing on a newly built concrete subfloor, make sure you give it time to completely cure(dry).
- The concrete subfloor must be as smooth and level as possible. All the imperfections of bumps and holes should be filled or filed.
- Preferably, use an underlayment that comes with an inbuilt moisture barrier. If you can’t find one, you can buy both separately, but put the barrier before the underlayment.
- Use a thick underlayment. Concrete becomes very cold in winter, the thicker the underlayment, the warmer and cozier your laminate floor will be.
How to Install Laminate Flooring on a Concrete Subfloor
Before any installation is done, it is important to prepare the subfloor first to make sure it meets the standards for installation. Failure might end up damaging your entire laminate planks.
So how do you prepare concrete subfloor?
Preparing Concrete Subfloor for Installation of Laminate Flooring
Clean
At any given time, before any installation, cleaning the subfloor should always be the first step. Especially in this case where you have to use an adhesive to hold down the underlayment, any loose debris, dust, oil stains off the concrete surface.
A concrete surface grinder is an ideal tool for this job because apart from removing the stains and the waxes, it will roughen the surface a bit, making the adhesive stick even better.
Leveling
Use a level to check the surface of the concrete subfloor. The floor has to be level and uniform throughout the entire room. Any bumps on the floor should be sanded or leveled out using the concrete grinder.
For the bumps and holes on the floor, use fillers or any cementitious leveling compounds and give it time to dry before proceeding to the next stage.
Check for moisture and dry if need be
Using a moisture testing kit, you may be able to tell if the concrete subfloor needs more time to cure or whether it is good to go. If the moisture levels are not within the required laminate flooring manufacturers’ recommendation, you will have to reduce the moisture and humidity in the area.
When all this is done, you can begin your installation process.
Things you will need:
- Underlayment with a moisture barrier
- Laminate planks
- Saw
- Rubber mallet
- Tape measure
- Pencil
Step 01: Acclimation
After the purchase of the floor planks, and they have been delivered to your house, without removing the laminate planks from the boxes, place them in the room where they are going to be installed for a duration not less than 48 hours. This process is called acclimating.
What it basically does is, it makes the planks acquire the temperature and humidity levels of the room and familiarize themselves with them, preventing moisture-associated problems like buckling and warping in the future. This process is important and must not be skipped.
It is so important that some manufacturing companies will void their warranties if you don’t acclimate the laminate planks.
Note: To get the exact number of laminate planks needed to cover your entire room or house, multiply the length and the width, then add a contingency sum of about 10% to the total area.
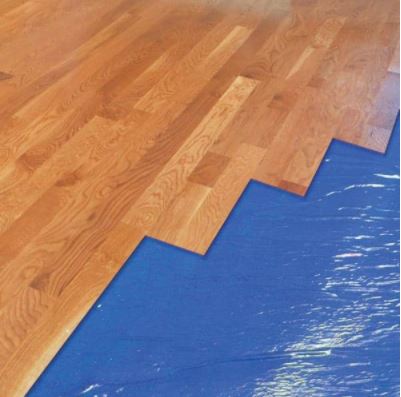
Step 02: Install the underlayment
Choosing the best underlayment for installation on a concrete subfloor might be tricky. But to get a rough idea, you will need one that is thick and has an inbuilt water barrier.
Concrete is a porous material, and any adhesive-based underlayment will loosen over time when moisture seeps through it. Without the right underlayment, the laminate planks will start warping from underneath.
Some of the underlayments that will fit best for this procedure are:
- Cork: It is expensive, but it is thick. It is not waterproof but can be used together with a moisture barrier. It is also primarily suitable for noise reduction.
- Foam underlayment: Also has to be used with an additional water barrier.
- Vinyl-backed underlayment.
Good quality underlayment is a good investment in that it not only acts as a sound barrier but also because it prolongs the lifespan of your laminate flooring.
Step 03: Install your first row of laminate planks
If the first row is not done correctly, it will affect the layout of the entire room. It should be installed with the tongue side facing the wall. Also do not forget to leave an expansion joint between the wall and the plank.
Step 04:Install the rest of the planks
Click and tongue one end of the laminate planks next to the groove of the first row at a 45-degree angle. Continue this process for the rest of the floor until you fit in the last row.
In areas where you can’t fit the tongue to the groove of the previous row, you can use a tapping bar or a rubber mallet carefully so as not to damage it. Use a table saw to cut the size you need if the last row does not fit.
Make sure you leave an expansion gap between the wall and the last row.
The laminate installation do’s and don’ts
| Do’s | Don’t |
| Acclimate the laminate planks for not less than 48 hours prior to installation. | Install laminate flooring on a double layer of underlayment |
| Make sure the concrete subfloor is prepared and leveled | |
| Leave expansion gaps between the laminate planks and the walls | |
| Always check the moisture levels of the concrete subfloor to make sure it is dry | |
| Use an underlayment with a moisture barrier | |
| Read and follow the manufacturer’s installation manual |