
Welcoming you to a comprehensive and detailed guide that provides unique insights into navigating the challenges of maintaining unglazed ceramic tiles and grout within your spaces. Recognizing that these specific tile types present distinct challenges due to their innate characteristics, we explore why they are prone to collect dirt and develop mold and mildew. Moreover, this guide unpacks how these factors significantly add to the cleaning process and introduces the potential effects of various cleaning agents on the tiles and grout.
By delving into this, we help identify the most suitable agents and methods of application while advising on safety measures to observe when handling these cleaning solutions. Let’s traverse this journey together and equip you with vital steps, methods, and aftercare procedures to keep your unglazed ceramic tiles pristine and harmful-free.
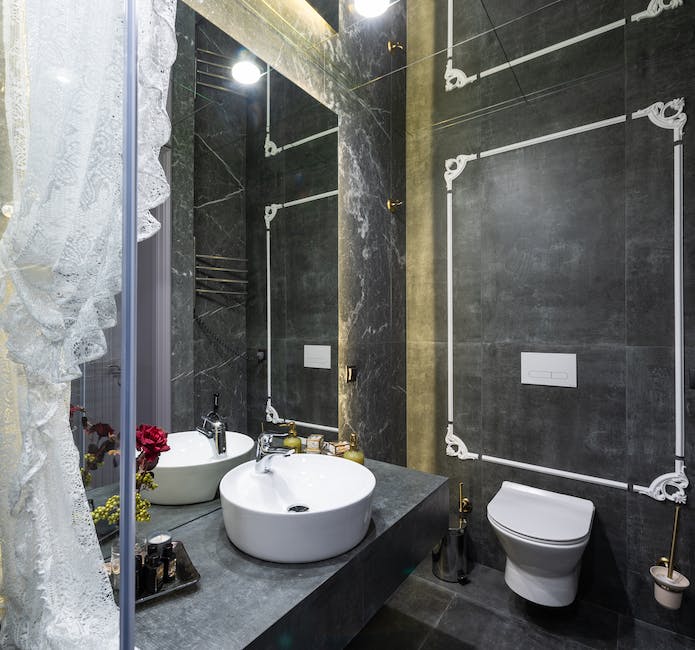
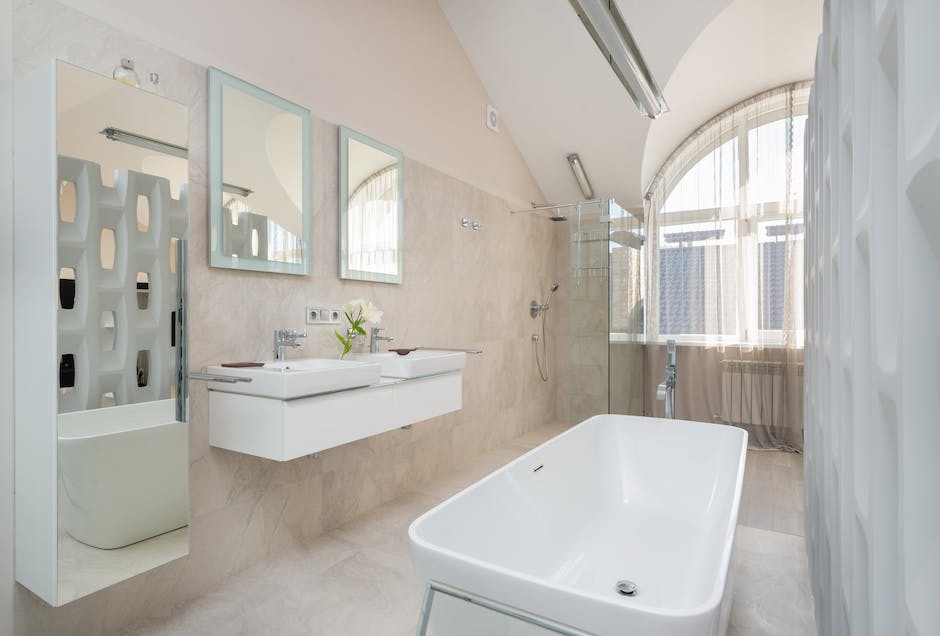
Understanding Unglazed Ceramic Tile and Grout
Fellow craftspeople and DIY enthusiasts will understand the appeal of unglazed ceramic tile. These tiles’ rustic, natural charm, durability, and versatility make them an attractive choice for many design projects. However, unglazed ceramic tiles and grout properties can create unique cleaning challenges. Let’s delve into these intrinsic characteristics and the optimal ways to keep this type of tile looking its best.
First, it’s crucial to understand the inherent properties of unglazed ceramic tiles. The absence of a glassy finish leaves the tile’s porous surface exposed, which has a propensity to absorb stains and require more frequent cleaning. The fine pores can trap dirt and even hold onto certain types of cleaning solutions, leading to potential discoloration.
Grout:
Grout, commonly used to fill the spaces between tiles, also incorporates porous properties. Made up of a blend of cement, sand, and water, grout can be particularly susceptible to moisture, staining, mold, and mildew. The light color most often used for grout can amplify these unsightly issues.
With these properties in mind, the cleaning methods for unglazed ceramic tiles and grout should be cautious and gentle to avoid damage. It’s crucial to avoid using abrasive cleaners or materials that may scratch the surface. For instance, scouring powders or steel wool pads can damage the material irrevocably.
Instead, opt for a soft cloth or mop while cleaning tiles. For routine cleanings, utilize mild dish soap diluted in warm water. Be sure to rinse thoroughly and mop up any extra water to prevent soils from resettling onto the tile.
For stubborn stains or deep cleanings, consider using specialized tile and grout cleaners available on the market. Always test these products in a non-conspicuous area first to ensure compatibility. Stiff bristle brushes can help scrub the grout lines, but care should be taken not to brush too vigorously to avoid wearing away the grout.
Sealers on unglazed ceramic tiles and grout are highly recommended. These protectants can shield against stains and make regular cleanings more straightforward and effective. Some color-enhancing sealers can even enrich the natural beauty of the tile while providing this protective layer.
Proper cleaning and maintenance are keys to preserving the unique aesthetic and quality of unglazed ceramic tiles and grout. Allowing these materials to flourish naturally can yield a striking and sustainable presence in any DIY project.
Effective Cleaning Agents for Unglazed Ceramic Tiles
Maintaining the pristine charm of unglazed ceramic tiles is a labor of love, which subtly demands a more mindful cleaning strategy. Having thoroughly delved into the inherent properties of these tiles, the cleaning challenges they present, and their need for a gentle hand, let’s now explore the cleaning agents that work best on unglazed ceramic tiles.
Neutral pH cleaners
The initial fallback regarding cleaning agents is often ‘Neutral pH cleaners.’ Designed to clean without causing harm, these cleaners are free from harsh ingredients such as ammonia and bleach. Perfect for unglazed tiles, these cleaners can effectively dislodge dirt without leaching color or damaging the tile.
Alkaline cleaners
Alternatively, ‘Alkaline cleaners’ can tackle stubborn stains, ground-in dirt, or heavy grime usually found in neglected grout lines and hard-to-reach corners of your tiles. However, thorough rinsing is crucial after using alkaline cleaners as they tend to leave sticky residues, which can attract dust and dirt particles.
Oxygen Bleach cleaners
For those pesky, elusive stains that seem immune to all your cleaning efforts, consider using hydrogen peroxide-based ‘Oxygen Bleach cleaners.’ Safe and non-toxic, these cleaners can usually deal with arduous stains and discoloration. Unlike chlorine bleach, these cleaning agents are color-safe and create no harmful fumes or residues.
Acetone
Mineral spirits or Acetone can be your secret weapon for eliminating trickier, greasy stains imparted by oily substances or waxes. Of course, remember to ventilate the area properly while using these solvents, as they have strong odors.
Vinegar
Let’s not forget the miraculous power of good old-fashioned ‘Vinegar.’ This powerhouse kitchen staple has a low pH, which makes it an effortless yet potent cleaning agent for unglazed ceramic tiles. However, refrain from using vinegar on grout, as its acidity can erode over time.
Although these cleaning agents have proven to work well, always remember no two unglazed ceramic tiles are the same. Variations in tile thickness, density, and texture can significantly influence the effectiveness of a cleaning agent. Therefore, don’t forget to conduct a small patch test to confirm that the cleaner doesn’t affect the tiles adversely.
In the end, maintaining the beauty of unglazed ceramic tiles and grout is less about finding the perfect cleaning agent and more about understanding your tiles and consistent, proper care. With the right approach, these tiles can retain their rustic charm for a lifetime, continuing to inspire and bring joy to the avid DIYers among us.

Practical Steps in Cleaning Unglazed Ceramic Tiles
While much of the cleaning aspect has been covered thoroughly, let’s delve into specific steps to follow when maintaining the unblemished allure of these unglazed ceramic tiles and grout. There’s a method to the cleaning madness, and a systematic process can make a significant difference!
Step 1:
Start with a general cleaning session using a vacuum cleaner or a broom to remove loose dust and debris. Follow this by a mop-down—ideally using a microfiber mop because of its non-abrasive characteristics. Dry cleaning should precede any use of water or cleaning products to prevent dirt from spreading.
Step 2:
Next, gently remove superficial stains or spills from unglazed tiles using a damp sponge or cloth. Understand the stains and use appropriate cleaning products. For stubborn or old stains, it may be beneficial to let the cleaning solution dwell for 10-15 minutes before scrubbing it gently with a nylon scrub brush.
When confronting the grime on grout lines, opt for Oxygen Bleach cleaners or Alkaline cleaners that are exceptional in removing grease or organic material. Wetting the grout with warm water is critical before applying these cleaners. Let the solution sit on the grout line for a specified time before gently scrubbing it with a grout scrub brush. Rinse the area with warm water after the stipulated time to neutralize the cleaner.
In cases wherein stubborn stains persist and do not respond to the alkaline cleaners, acid cleaners can be used cautiously. Remember that these might alter the appearance of your unglazed tiles and grout. Hence, a small test on an inconspicuous spot should be conducted before a full-scale application.
Step 3:
After the deep cleaning process, it cannot be stressed enough that the tiles should be dried thoroughly. Any remaining moisture may seep into the pores of the tiles and grout, leading to possible mold growth or discoloration. Thus, dry the surface with a dry cloth or a high-absorption mop.
While cleaning is just one-half of the maintenance process, the other is regular care and prevention. Considering the characteristics of unglazed ceramic tiles, immediately clean up spills and avoid using colored cleaning agents, especially on lighter tiles, which might cause staining.
Step 4:
Let’s not forget the last step that encompasses the entire process—sealing! Go for penetrating sealers specifically made for unglazed ceramic tiles and grout. These do not merely sit on the tile’s surface but rather penetrate into the tile, making it resistant to staining and facilitating easy cleanup.
Thus, ensuring the longevity and pristine beauty of unglazed ceramic tiles and grout goes beyond mere cleaning routines. It revolves around seizing opportunities for prevention, promptly addressing stains, and maintaining a gentle and consistent regimen. Though it might sound complicated initially, the routine aspects will become ingrained over time, leading to the lasting enjoyment of these beautifully rustic tiles. Embark on the journey and witness the transformation unglazed ceramic tiles can bring to your interiors!
Having interacted with this guide, we hope that you are now well-equipped with the necessary knowledge and tools to meet the complex challenges associated with cleaning unglazed ceramic tile and grout. By enlightening you on nature, tendencies, and suitable cleaning agents and processes, we aim to see you enjoy an environment surrounded by gleaming tiles, free from dirt and mildew.
This indicates that one’s dedication towards these practices will result in sparkling tiles and an enhanced sense of pride and appreciation for one’s surroundings. We trust this guide has been beneficial and encourages you to maintain a clean and healthy environment. The quest for spotless unglazed ceramic tiles and grout is a worthy one, and with this guide, it is certainly attainable.