
Introduction
Nail polish spills can be a common occurrence, especially if you enjoy doing your nails at home. However, when nail polish lands on your beautiful tile floors, it can be a cause for concern. Not only can it stain the tiles, but it can also leave behind a sticky residue that is difficult to remove.
Why it’s important to remove nail polish from tile floors
It’s crucial to remove nail polish from tile floors promptly to prevent any permanent damage. Nail polish contains pigments and dyes that can seep into the porous surface of the tiles, leading to unsightly stains. If left untreated, these stains can become more challenging to remove over time. Additionally, the sticky residue left behind by nail polish can attract dirt and grime, making your floors look dirty and unappealing.
Preparing the area for nail polish removal
Before you begin the process of removing nail polish from your tile floors, it’s essential to prepare the area to ensure a successful cleanup. Start by removing any furniture or objects that may hinder your access to the affected area. This will allow you to move freely and work efficiently. Next, gather a few clean towels or absorbent cloths to help with blotting up the excess nail polish. Having these materials readily available will save you time and prevent the nail polish from spreading further.
Gathering the necessary supplies
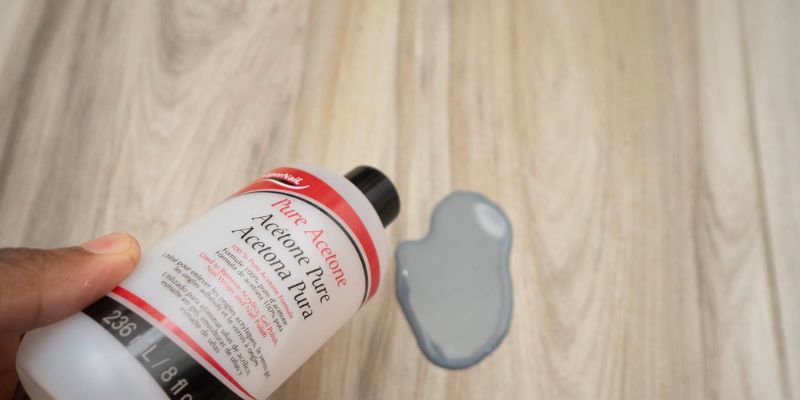
To effectively remove nail polish from your tile floors, you will need a few key supplies. First and foremost, make sure to have a bottle of nail polish remover that contains acetone. Acetone is a powerful solvent that is highly effective in breaking down nail polish. Additionally, you will need a soft-bristled brush or an old toothbrush for scrubbing the affected area. This will help loosen the nail polish from the tiles. Lastly, have a bucket of warm water and a mild detergent or floor cleaner on hand to clean the floor thoroughly after the nail polish removal process.
Step 1: Blotting up excess nail polish
The first step in removing nail polish from your tile floors is to blot up any excess nail polish. Start by gently placing a clean towel or absorbent cloth over the spill. Press down firmly to absorb as much nail polish as possible. Avoid rubbing the towel or cloth, as this may cause the nail polish to spread further. Once you have blotted up most of the nail polish, discard the towel or cloth and move on to the next step.
Step 2: Applying nail polish remover
Now that you have removed the excess nail polish, it’s time to apply the nail polish remover. Pour a small amount of acetone-based nail polish remover onto a clean cloth or cotton ball. Gently dab the cloth or cotton ball onto the affected area, making sure to cover the entire nail polish stain. Allow the nail polish remover to sit on the tiles for a few minutes. This will give it time to break down the nail polish and make it easier to remove.
Step 3: Scrubbing the affected area
After allowing the nail polish remover to penetrate the tiles, it’s time to scrub the affected area. Take a soft-bristled brush or an old toothbrush and gently scrub the tiles in a circular motion. This will help loosen the nail polish from the surface. Be careful not to scrub too vigorously, as this may damage the tiles. Continue scrubbing until you see the nail polish starting to lift off the tiles.
Step 4: Repeating the process if necessary
In some cases, a single round of nail polish removal may not be sufficient to completely remove the stain. If you still notice remnants of nail polish on the tiles after completing the previous steps, don’t worry. Simply repeat the process by blotting up any excess nail polish, applying more nail polish remover, and scrubbing the area once again. Repeat this step until the stain is completely gone, ensuring that you are gentle with your scrubbing to avoid damaging the tiles.
Step 5: Cleaning and drying the floor
Once the nail polish stain has been successfully removed from your tile floors, it’s essential to clean and dry the area thoroughly. Fill a bucket with warm water and add a small amount of mild detergent or floor cleaner. Dip a clean mop or cloth into the soapy water and gently clean the entire floor. Make sure to remove any residue left behind by the nail polish remover. After cleaning, rinse the floor with clean water to remove any soap or cleaner residue. Finally, dry the floor completely using a clean towel or allow it to air dry naturally.
Preventing future nail polish spills
To prevent future nail polish spills on your tile floors, consider taking a few precautionary measures. First, create a designated area for doing your nails, such as a table or a specific room with a protective mat or towel underneath. This will help contain any spills and make cleanup easier. Additionally, be mindful of your surroundings while applying nail polish and avoid doing it near your tile floors. Finally, always ensure that the nail polish cap is securely tightened after each use to minimize the risk of accidental spills.
Conclusion
Removing nail polish from tile floors doesn’t have to be a daunting task. By following this step-by-step guide, you can effortlessly remove nail polish stains and restore the beauty of your tile floors. Remember to act quickly, gather the necessary supplies, and follow each step diligently for the best results. By taking preventive measures and practicing caution, you can also minimize the risk of future nail polish spills. With a little effort and know-how, you can keep your tile floors looking clean and pristine for years to come.
