
In general, unsanded grout is better for showers because it is more flexible and less likely to crack. Sanded grout is typically used on floors, where it provides added strength and stability. However, the final decision on which type of grout to use in a shower should be based on the size of the tiles and the width of the grout joints.
For tiles that are larger than 1/2 inch and have grout joints wider than 1/8 inch, sanded grout may be necessary to provide adequate support. It is always best to consult with a professional or refer to the manufacturer’s recommendations for specific grouting applications.
Sanded grout
Sanded grout is a mixture of cement, fine sand, and water that is used to fill in the gaps between tiles. It is designed to provide a stronger and more durable bond than non-sanded grout, and it also helps to resist cracking and crumbling over time. Sanded grout is typically used for larger grout lines, such as those found in bathrooms and kitchens.
Sanded grout is ideal for any grout lines larger than 1/8”. It is often used in floor tile installations, countertops, and showers. It can provide a stronger bond and better water resistance than non-sanded grout when installed correctly. It is also recommended for grout lines in areas subject to heavy traffic.
Pros and Cons of sanded grout
| Pros: | Cons: |
| Sanded grout is strong and long-lasting. It is more resistant to cracking, shrinking, and staining than non-sanded grout. | Sanded grout is harder to work with than unsanded grout, so it can require more time and effort. |
| It is better for larger grout lines, such as those found in tile work, because it is less likely to shrink. | Sanded grout is more prone to cracking and chipping if not applied properly. |
| Sanded grout provides better adhesion, which makes it less likely to come loose and cause damage to the tiles or surfaces. | Sanded grout can be difficult to clean and can trap dirt, bacteria, and mildew more easily than unsanded grout. |
| It is relatively easy to work with and can be applied using a trowel. | Sanded grout can cause discoloration of tiles over time, especially if used with porous tiles. |
| Sanded grout is more susceptible to staining than unsanded grout. |
Unsanded grout
Unsanded grout is a type of grout that is composed of a mixture of Portland cement, water, and other additives. It is used to fill gaps between tiles and is typically used when the gap between the tiles is less than 1/8 inch wide. Unlike sanded grout, unsanded grout has a smoother, more paste-like consistency that is better suited for filling narrow gaps.
Unsanded grout is best used in joints that are 1/8 inch or smaller because it is a finer grout and will not scratch or damage the tiles. It is especially recommended for use with glass, polished marble, and other delicate surfaces.
Pros and Cons of unsanded grout
| Pros: | Cons: |
| Unsanded grout is easier to apply than sanded grout | Unsanded grout is more prone to cracking and crumbling |
| It is less likely to cause damage to the grout lines | It is not as strong as sanded grout – It is more susceptible to staining |
| It is less likely to cause damage to the grout lines | It is more difficult to spread evenly |
| It requires less water to mix and apply | It is not recommended for wet or outdoor areas |
| It is ideal for grout lines that are less than 1/8” wide | |
| It has a smoother finish than sanded grout | |
| It is less likely to trap dirt and bacteria | |
| It is easier to clean |
How to apply grout on the floor
1. Start by mixing the grout. Follow the manufacturer’s instructions for mixing the grout. Generally, you will combine the grout powder with water in a bucket, then mix with a grout mixing paddle or drill attachment until you have achieved a thick, peanut butter-like consistency.
2. Once the grout is mixed, spread it over the tile with a rubber grout float. Start in one corner of the room and work your way across the entire floor. Hold the float at a 45-degree angle against the tile and push the grout between the tiles.
3. Use a damp sponge to wipe away excess grout from the tile surface. You will need to rinse the sponge frequently and keep the water as clean as possible.
4. Allow the grout to dry for at least one hour before sealing it with a grout sealer.
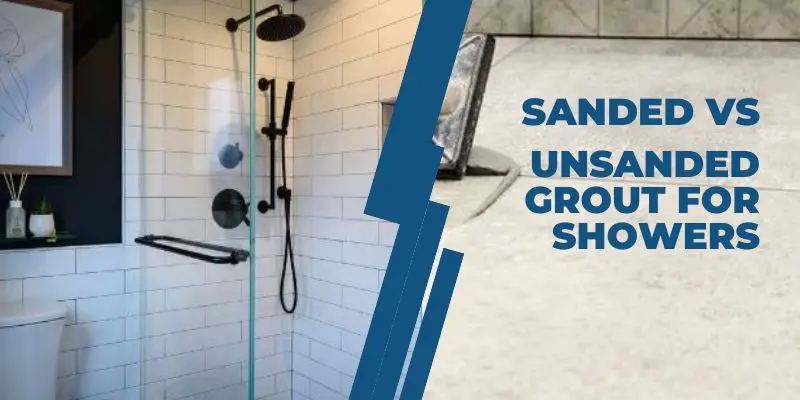
Sanded or Unsanded grout which one is best for showers
The best choice for showers is unsanded grout. It provides a smoother finish and can be used in tight spaces. It is also more resistant to cracking, discoloration, and shrinking.
Also read: Pebble shower floor problems