
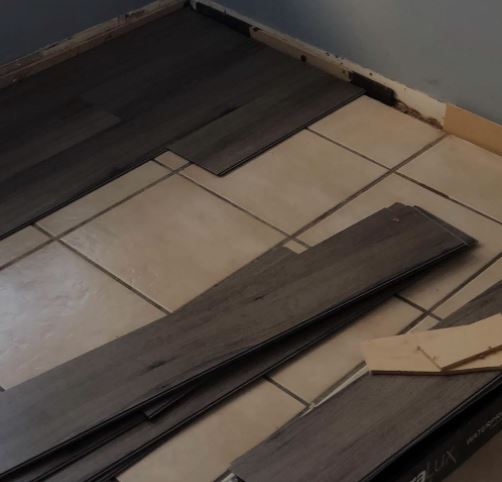
Yes, You can lay laminate flooring over tile, provided the tiles are in good condition and well leveled. Laminate flooring required no adhesives and is padded below the back layer that will help smooth out the contours between the tiles.
The process of laying the laminate flooring on tiles will be the same as laying laminate flooring on a concrete slab.
Also, read Vinyl flooring vs Laminate flooring.
How to Install Laminate Flooring Over Tile
Preparation of the Sub-floor(Tiles)
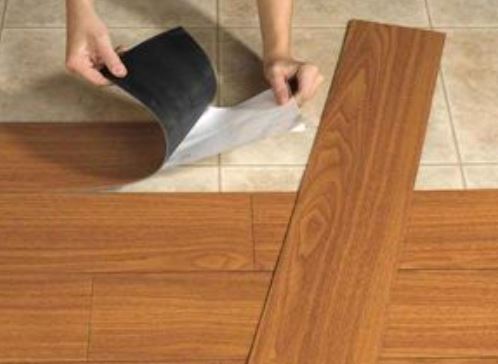
For proper installation, the tiles should be in good shape, smooth and clean. In this case, it will be a dry installation, meaning no adhesives or mortar will be needed.
In cases where the laminate does not come padded, an underlayment will need to be used. The purpose of the underlayment is to make sure that the bumps between the tiles are covered, and it will also act as a thermal barrier.
RELATED POST: Is laminate cheaper than tile?
Steps of Installation
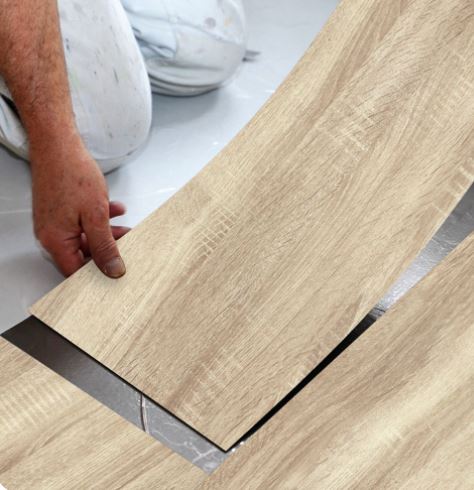
Step 1: Lay down the underlayment on top of the tiles.
Roll out the underlayment sheet on the tiles and arrange it with its edges touching but not overlapping on one another. Secure the seams with tape to make sure the underlayment sits in place.
Some underlayments come with peel-and-stick edges, which makes them even easier to install. Once the whole area is covered, the laminates are ready to be placed. Use a utility knife to cut off any excess sheets to fit against walls or cut around any built-in obstructions.
Step 2: Remove the tongues of the planks that go against the wall.
Before installing the first row of the laminate, inspect the planks carefully and remove the tongues on the long side joints and the short side of the first plank (the one going against the wall) using a circular saw or preferably a table saw.
Step 3: Install the first row of planks
Place the first set of planks with the trimmed side against the wall, making sure the groove faces outwards. It is always advisable to start working on the longest wall.
For easier installation start working from the right side moving to the left side. Place spacers between the laminate flooring and the wall to allow room for expansion.
Check for the manufacturer’s instructions on the recommended spacing and if not instructed by your floor manufacturer you can use spacers of 1/8 to 3/8 inches.
Proceed to interlock the planks to the next one. Use a tapping bar to make sure there are no gaps left in the joints. Make sure the end joints fit tight by tapping them with a rubber mallet.
In case you reach the end of the first row and the plank happens to be long, measure, and transfer the measurements to a full-size plank and cut, leaving an allowance for the spacers.
Retain the cut-off end and use it to begin the second row.
Step 4: Install the second row.
For structural purposes and for the stability of your laminate flooring, the planks should be placed in a sawtooth, or rather have a staggered appearance. The seams of the second row should not be in line with the second one.
Most often than not, you will always have a cut-off from the previous row.
To begin the second row, Shift from the left side and start with the cut of plank on the right side. Each new row should begin on the right side. Fit the joints of the planks as in the first row.
Step 5: Install more planks.
Installing the rest of the planks is similar to that of installing the second row but slightly different.
The principle of starting from the right side remains, but this time around you hold each plank at the longest tongue-side at a 45-degree angle into the edge of the groove of the former row, then carefully lower it to the floor to lock the joint.
Step 6: Install the last row
If you are not lucky enough that the last row of your laminate flooring fits and leaves the 3/8 inch space, you have to trace the contour of the wall on the planks and rip off the unwanted area.
Proceed to install the rest of the planks and lock tight the joints and once done remove all the spacers placed against the wall.
Step 7: Seal the edges.
Apply 100% silicon sealant in the area between the wall and the laminates to ensure a watertight seal.
Equipment you’ll need:
- Rubber mallet.
- Tape measure.
- Utility knife.
- Pencil.
- Jigsaw or a handsaw.
- Speed square.
- Spacers.
- Tapping bar.
- Circular saw
Materials you’ll need:
- 100% silicon sealant.
- Underlayment.
- Laminate flooring.
- Securing tape.
